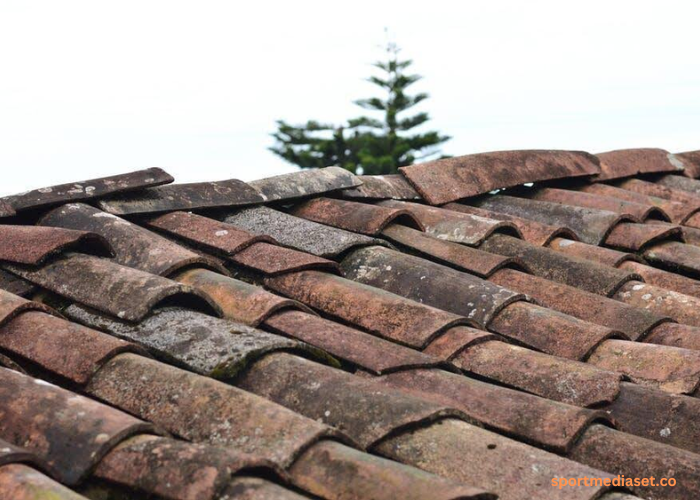
Maintaining the integrity of your roof is crucial to ensuring the safety and longevity of your home. Over time, weather conditions, natural wear and tear, or unexpected damage can lead to loose or missing shingles. While it might seem daunting, addressing this issue promptly can prevent more severe problems, such as water damage or insulation issues.
In this DIY guide, we’ll walk you through the steps to safely and effectively fix loose shingles on your roof. Read on.
Safety First
Before you start DIY roofing repairs, prioritize safety. You’ll be working at a height, so use a sturdy ladder, wear non-slip shoes, and consider using a safety harness. Never attempt roof repairs in wet, windy, or icy conditions. It’s also wise to have someone nearby in case of an emergency.
Materials and Tools Needed
When it comes to any type of DIY home repair, having the right materials and tools is essential for success. Whether it be a crafting project, home maintenance/renovation, or a professional job, having the appropriate materials and tools on hand can make all the difference. Here are some of those:
- Replacement shingles (if necessary)
- Roofing nails
- Hammer
- Pry bar or roofing shovel
- Roofing adhesive
- Utility knife
- Safety gear (gloves, non-slip shoes, safety glasses)
Step 1: Inspect the Damage
Carefully climb onto the roof and assess the situation. Identify loose, damaged, or missing shingles.
This inspection will help you determine the extent of the repairs needed. Remember, if you discover extensive damage, consulting a professional might be safer and more effective than a DIY fix.
Step 2: Remove Damaged Shingles
Using your pry bar or roofing shovel, gently lift the edges of the damaged or loose shingle. Be careful not to damage adjacent shingles.
Once lifted, remove the nails securing the loose shingle with your hammer. If the shingle is salvageable, set it aside for reattachment; otherwise, measure and cut a new shingle to fit.
Step 3: Prepare the Replacement Shingle
If using a new shingle, you might need to trim it for a perfect fit. Use your utility knife to cut the shingle to the right size. Ensure the replacement or repaired shingle matches the color and type of your existing roof shingles.
Step 4: Attach the Shingle
Slide the new or repaired shingle into place, ensuring it aligns correctly with adjacent shingles. Secure it with roofing nails, typically four nails per shingle, driven through the top of the shingle above.
Step 5: Seal the Shingle
Apply a small amount of roofing adhesive under the repaired or new shingle’s edges to ensure it bonds securely with the roof. This step is crucial to preventing wind from lifting the shingle. Press down firmly, and allow the adhesive to dry as per the manufacturer’s instructions.
Step 6: Final Inspection
Once the adhesive is dry, inspect your work to ensure the shingle is securely attached and the surrounding area is free from debris. Congratulations-you’ve successfully fixed a loose shingle on your roof!
It’s also helpful to consult an expert to learn more about how to properly do a shingle repair and other roofing tips.
Fix Your Loose Shingles Today
While fixing loose shingles on your roof is a manageable DIY task for many homeowners, never hesitate to call a professional if the damage is extensive or if you’re uncomfortable working at height. Regularly inspecting your roof for damage and addressing issues promptly can save money and prevent significant repair work in the future. Remember, a well-maintained roof is key to the overall health of your home.
If you want to read more articles, visit our blog.


